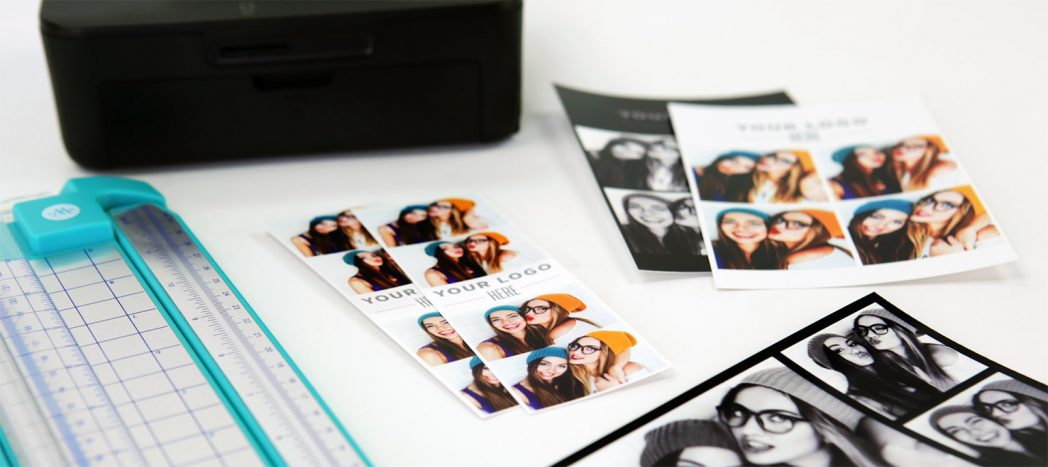
Even in the digital age, there is something nostalgic about a printout for your wedding or private event guests to take home and pin on the fridge or scrapbook.
If you’re on a journey to make your own photo booth with traditional-style photo strips, it’s going to be a little extra work to format things just right for your printer, but it will be worth it!
We’ve worked hard to make print formatting as simple as possible in the Simple Booth apps while also ensuring your digital photos look awesome. The Simple Booth apps for iPad make it easy to print tall photo booth strips onto common photo paper sizes such as 4×6 or 5×7 by automatically printing two side-by-side strips.
Here are a few helpful settings in the Simple Booth Classic and Simple Booth HALO® apps that can help you get the most professional-looking print.
(If you don’t have any Simple Booth apps yet — check them out! They’re made specifically for people, businesses, and not-for-profits that want to amplify in-person experiences, capture contacts, or increase brand awareness. Starting at $29/month! Get HALO for iPad here)
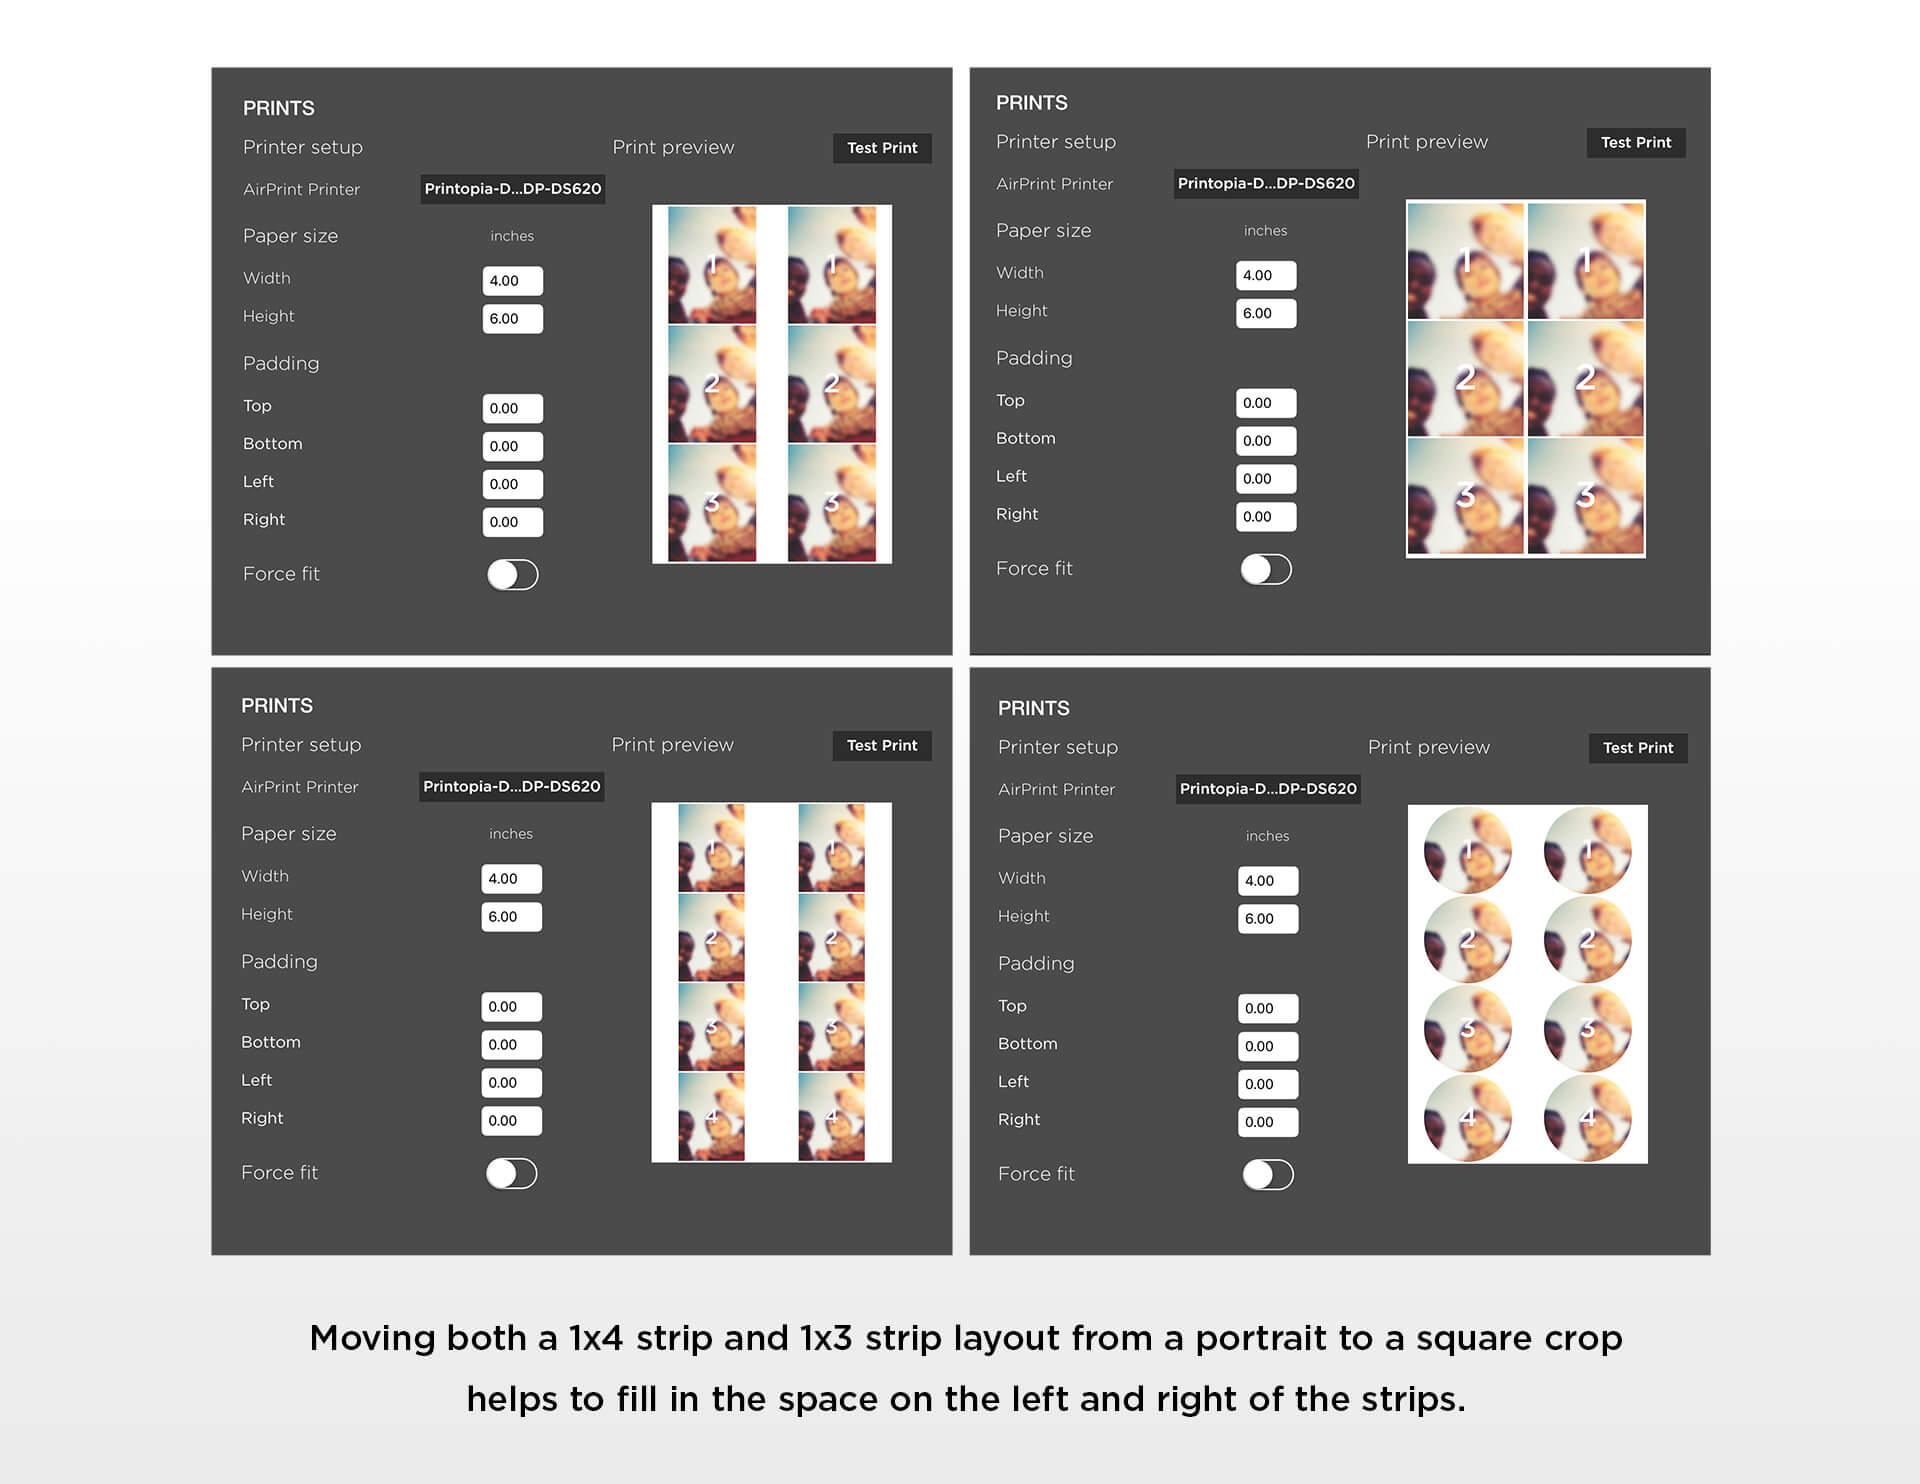
1. Use a square or circle crop
If you don’t mind a bit of extra white margins around your pictures, then vertical strips are a breeze! However, to completely eliminate the white space on your photo paper you’ll need to tweak a few settings.
Portrait or landscape images by default tend to be either too short or too tall to fill a standard 4×6 or 5×7 paper size.
Turning on square or circle crop is an easy win that tends to make the photos use the space on the page better.
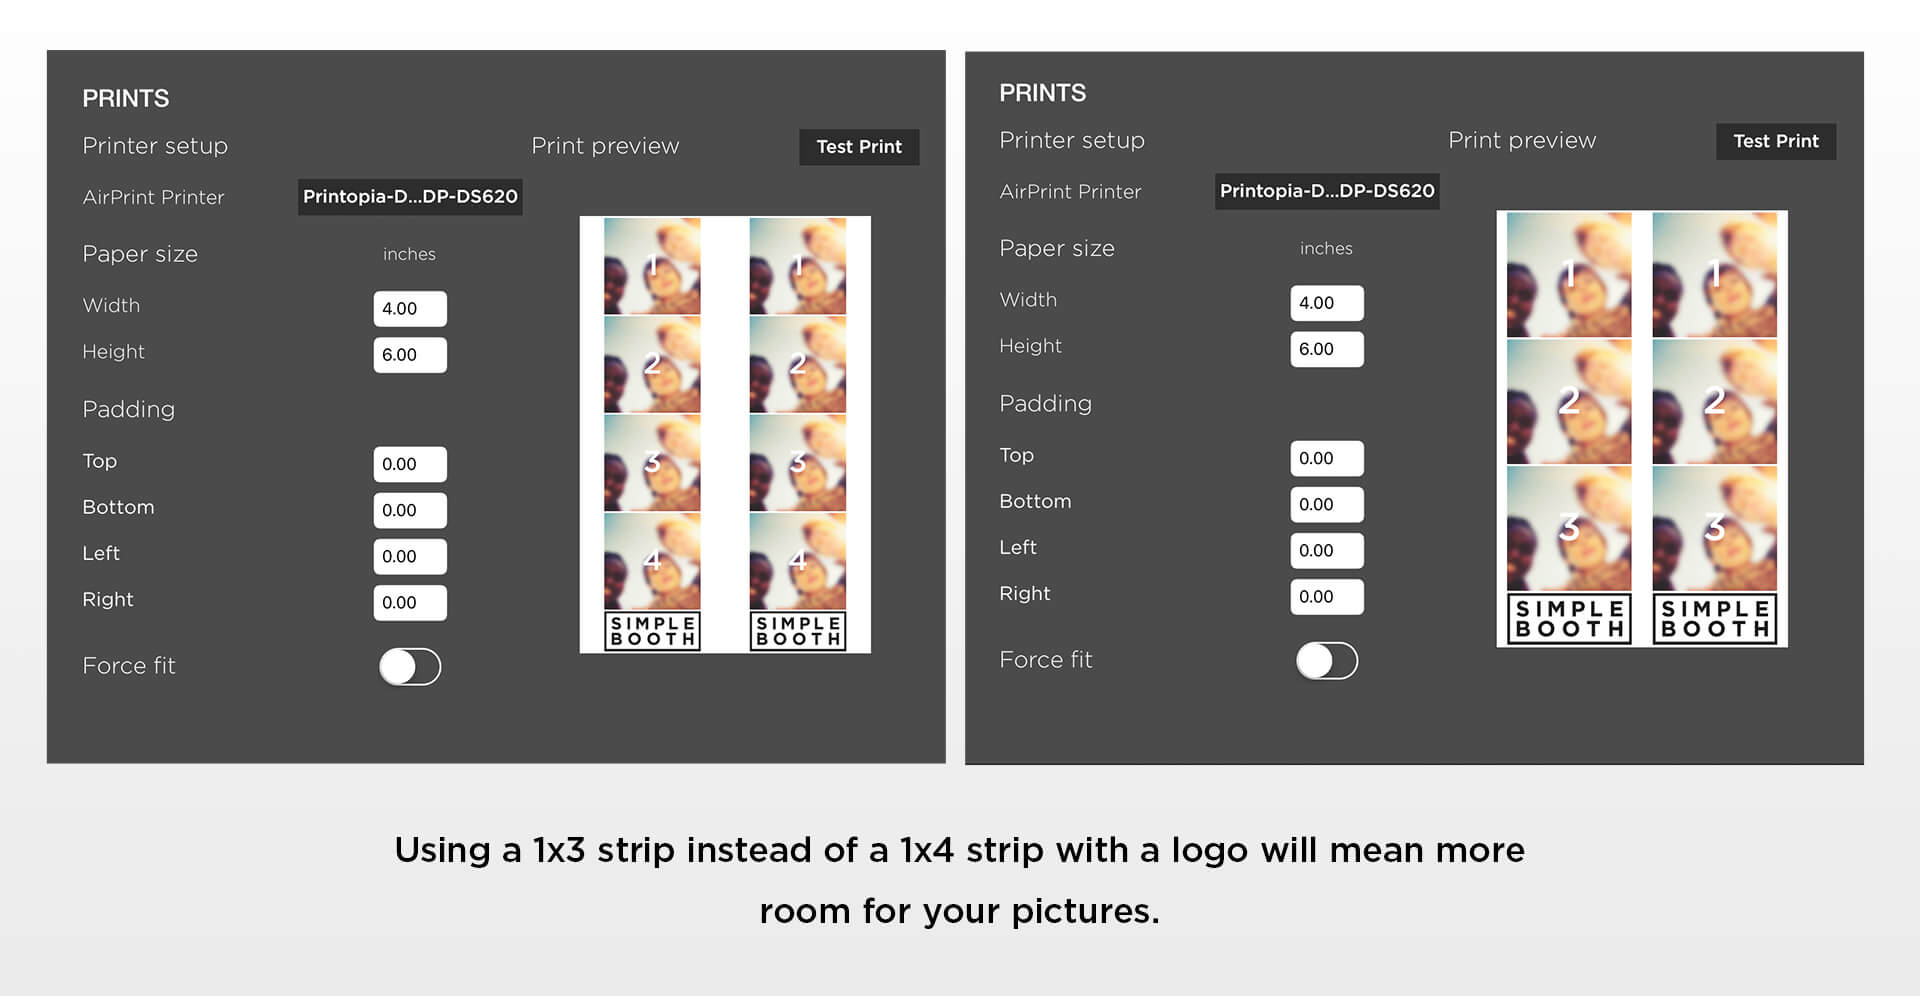
2. Add a logo to make it taller
Adding a logo to any photo strip will make the layout taller, regardless of whether you put it on the top, middle or bottom.
If you’ll be using a logo for your event, we recommend using the three photo (1×3) layout rather than the four photo (1×4) layout. This helps free up space for the logo so that the strip doesn’t become too tall.
You can also play with the aspect ratio of your logo. Make it taller to make the strip taller, make it wider to make the strip shorter.
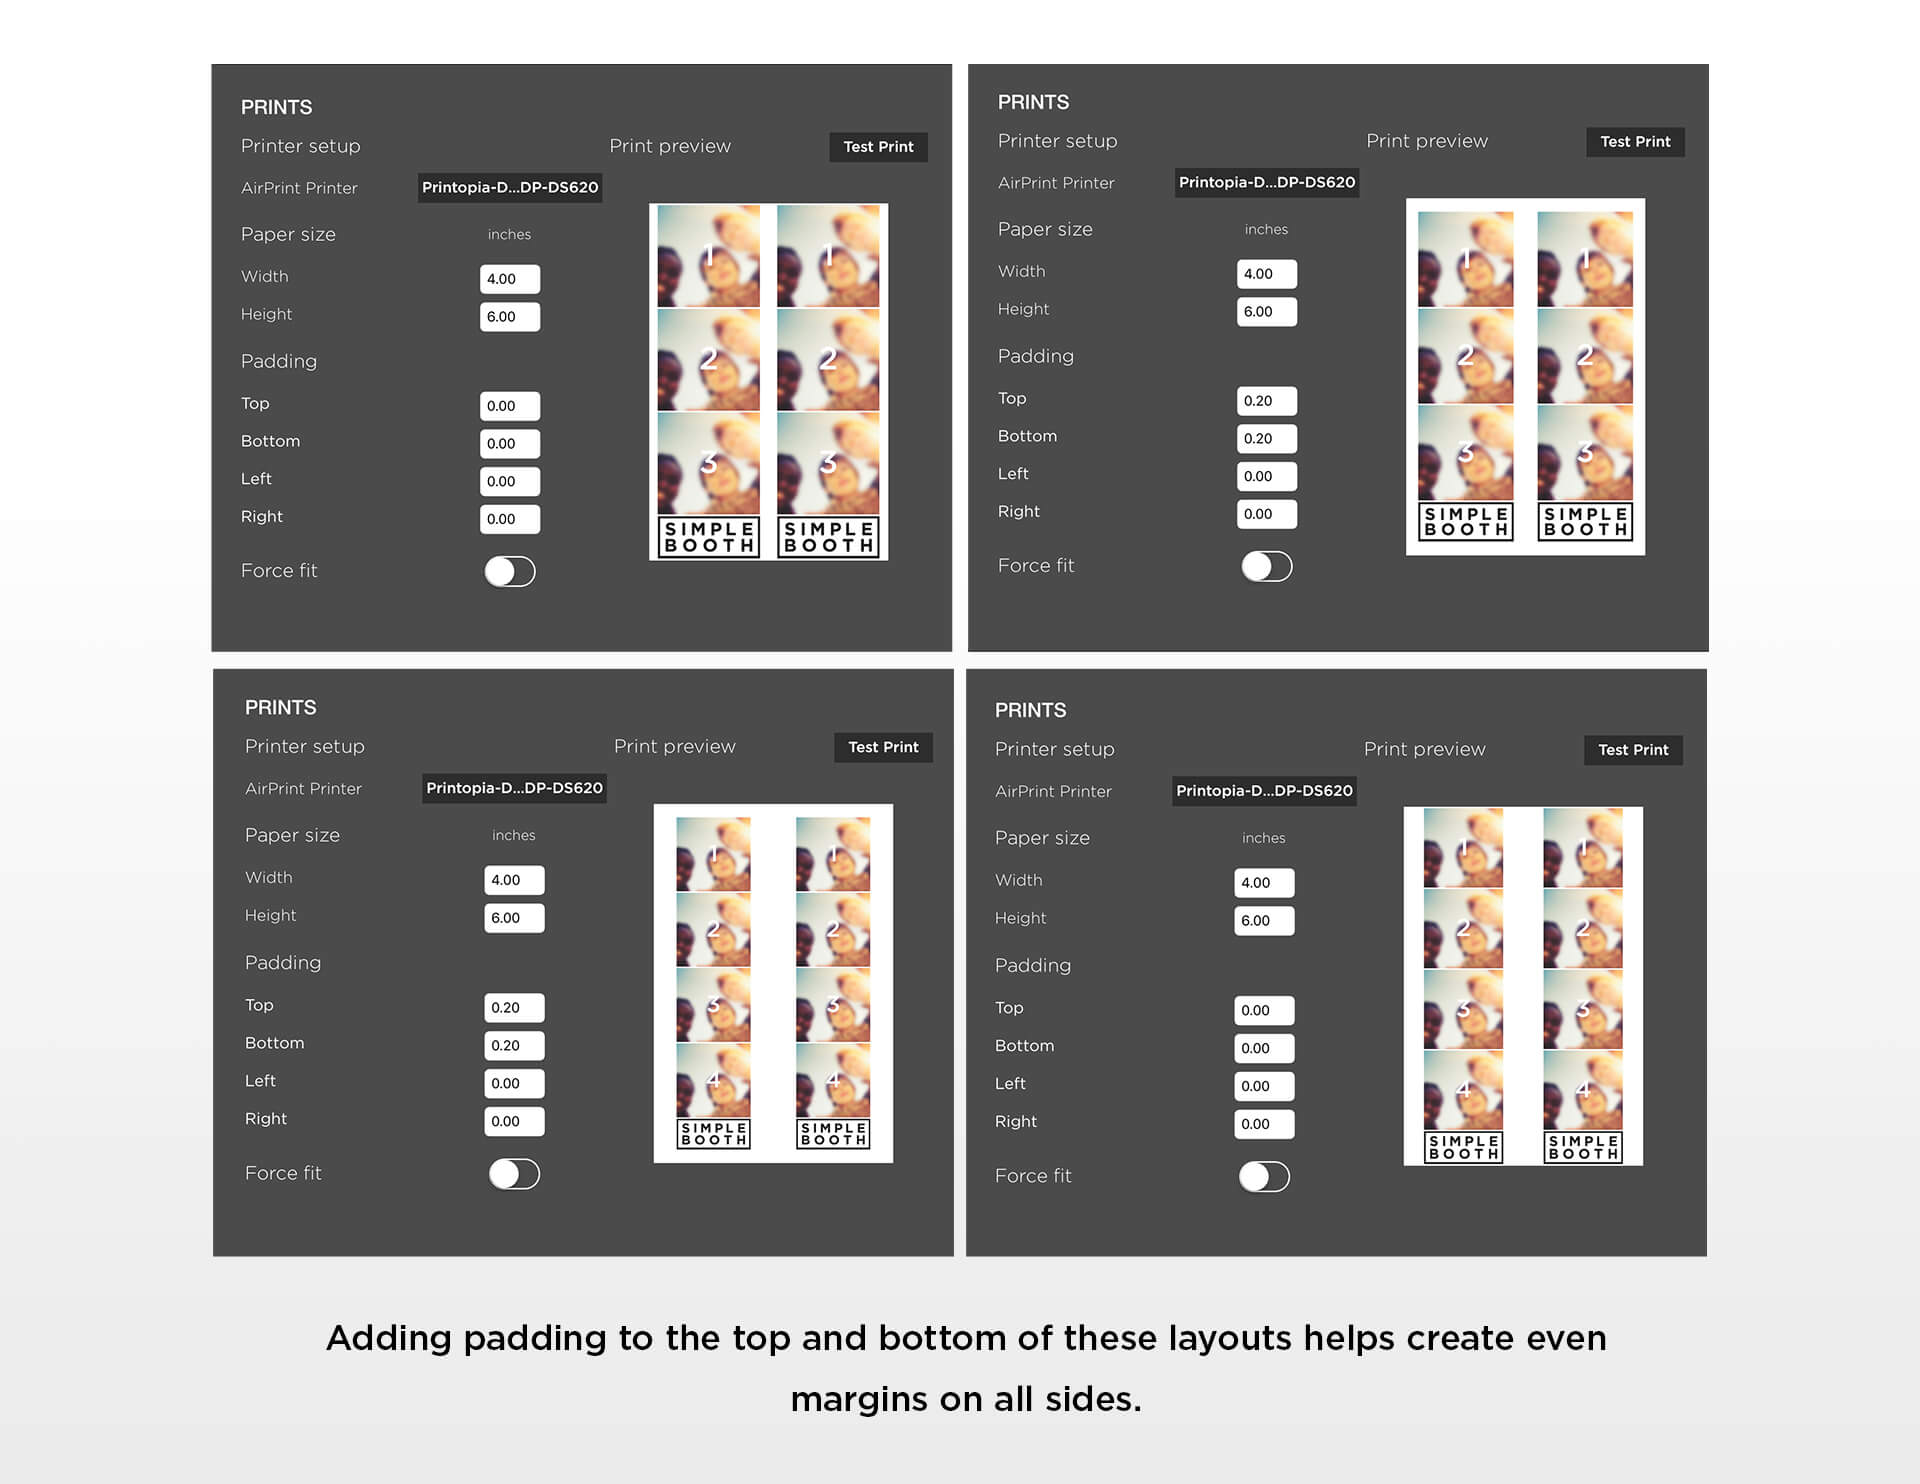
3. Tweak the print padding
Further adjustments can always be made with the padding feature. Adding positive numbers to a padding direction will increase your margins, while adding negative numbers will reduce them.
Each printer will handle these layouts slightly differently. It’s time to try a test print! If you find that your prints look like the preview in Simple Booth, that’s awesome. If the printer is cutting a small section off, use the padding settings to make small adjustments and get things just right.
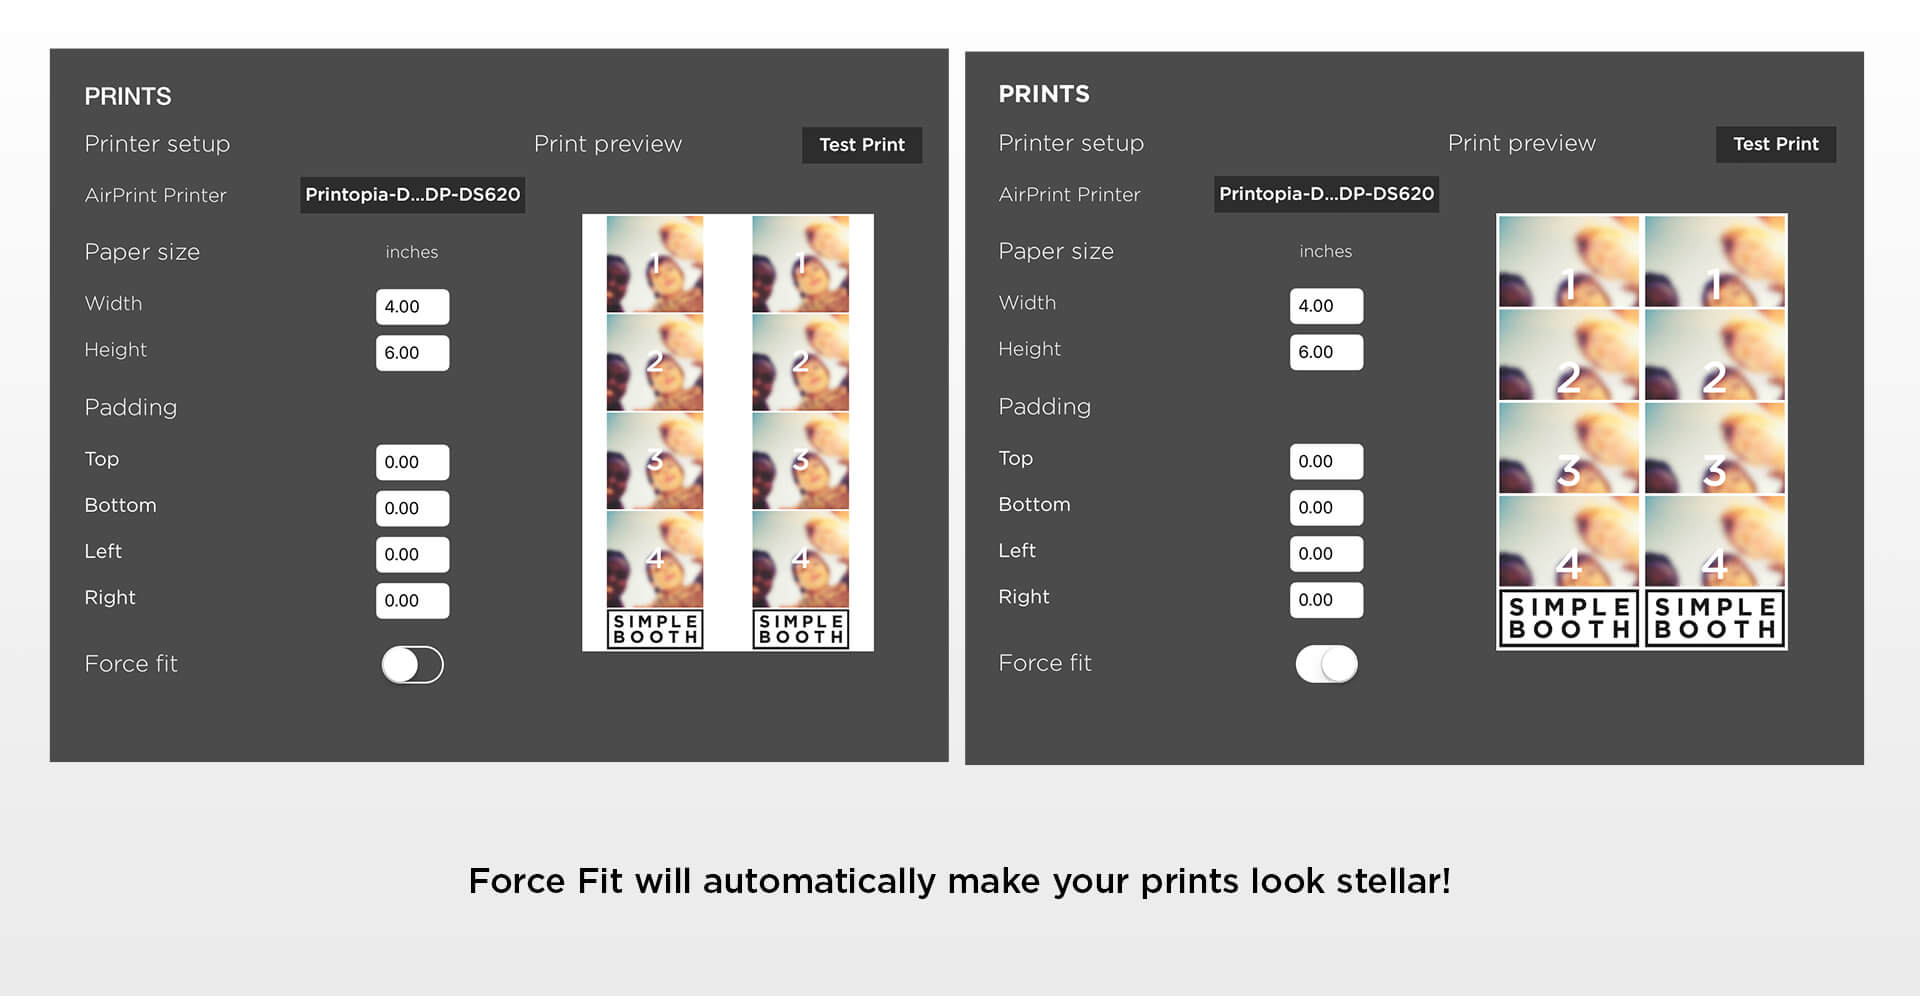
4. Turn on Force Fit™
If your photo strips are almost formatted just right, but there is a little extra white space you want to trim out, the easiest way fill the photo paper is to use our unique Force Fit feature. Force Fit will automatically detect faces and crop each photo to keep smiles centered, allowing your prints to have perfectly even margins throughout the layout.
The closer you get your print to how you want it to look before turning on Force Fit, the less it will crop photos to make them print and the better it will work.
Now, if you are using an overlay for your layout, you will want to make sure to design a separate overlay for your printed layout.
That’s how easy it is to format your prints in Simple Booth HALO!
For more questions about printing in the apps, be sure to check out the Print section of our Help Center.
If you are in the market for a printer, make sure to peek at our guide to the best photo booth printers.
We offer photo booth apps and hardware as a complete solution to help anyone set up an impressive photo experience at events!